








Image-led direction
CMYK / Full Colour
A multi-colour route for images, gradients and more detailed artwork.
Confirm for the project
Confirm resolution, printable area, folds and colour expectations at the final bag size.
Explore by handle & structure
All paper bagsStart with what the bag needs to do
Company & quality approach
Company overview + quality paths
Custom paper bags, made to order.
Customization guide · Print and surface
Start with the result the bag needs to achieve. Colour, varnish, film lamination and special finishes are reviewed together with the paper, artwork, structure and quantity.
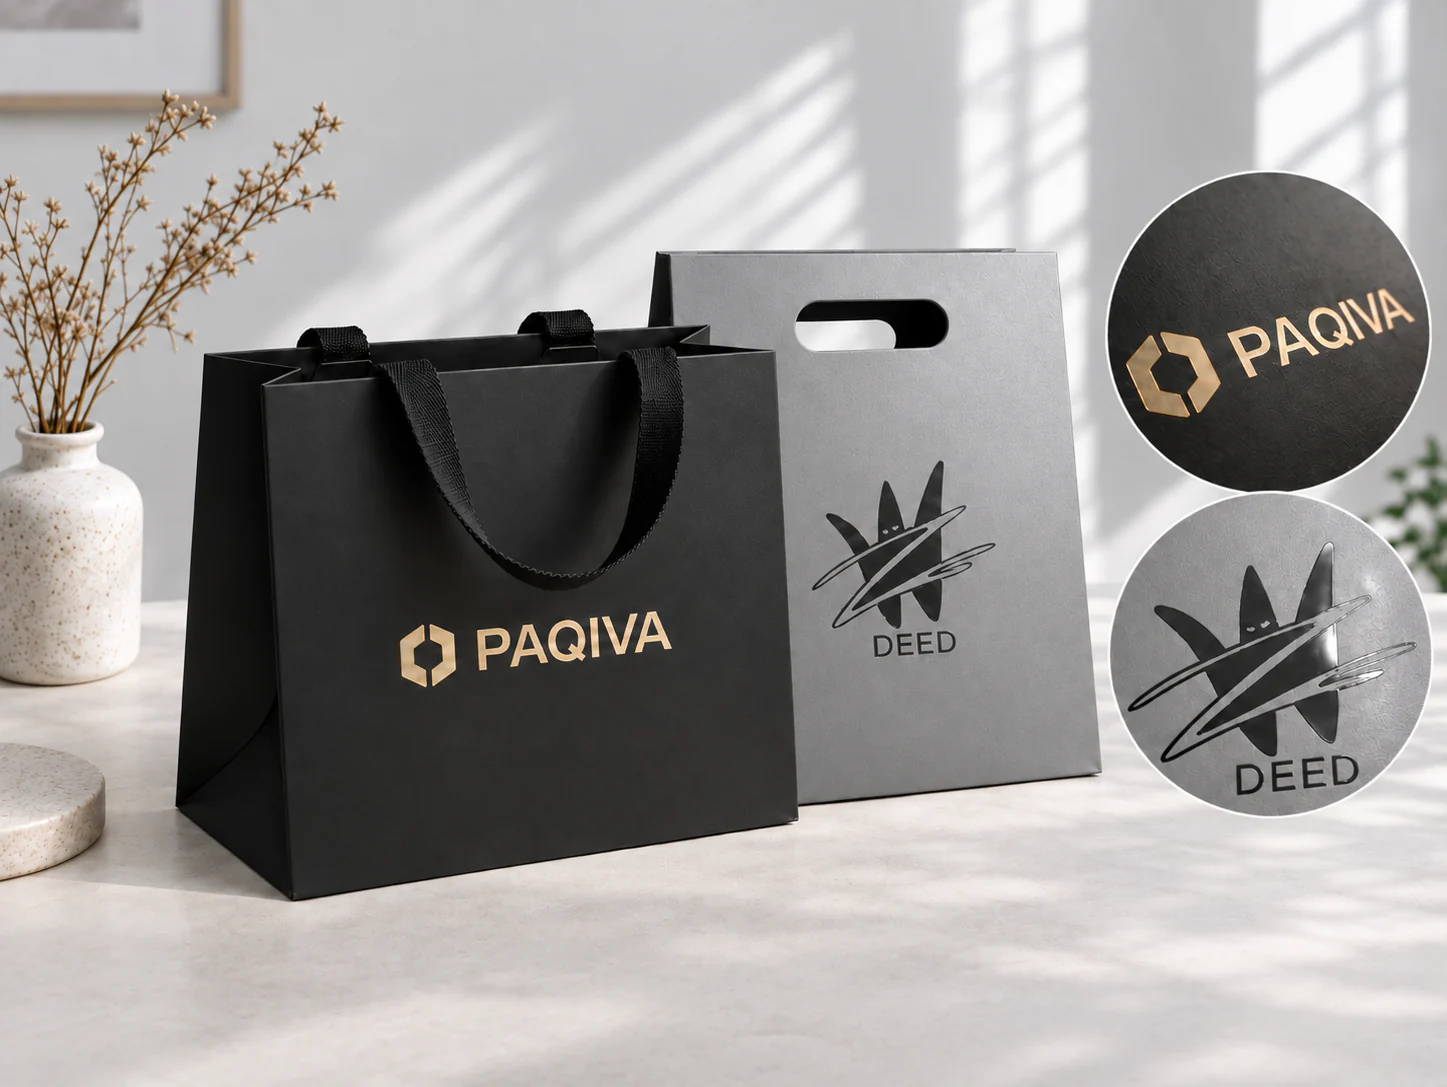
Choose the colour result before selecting a production route.
Choose no film, varnish or lamination to suit the paper and brief.
Confirm the complete print and surface build on the physical sample.
Colour printing
Choose full-colour artwork or a defined brand colour. Review the result on the selected paper before approving production.
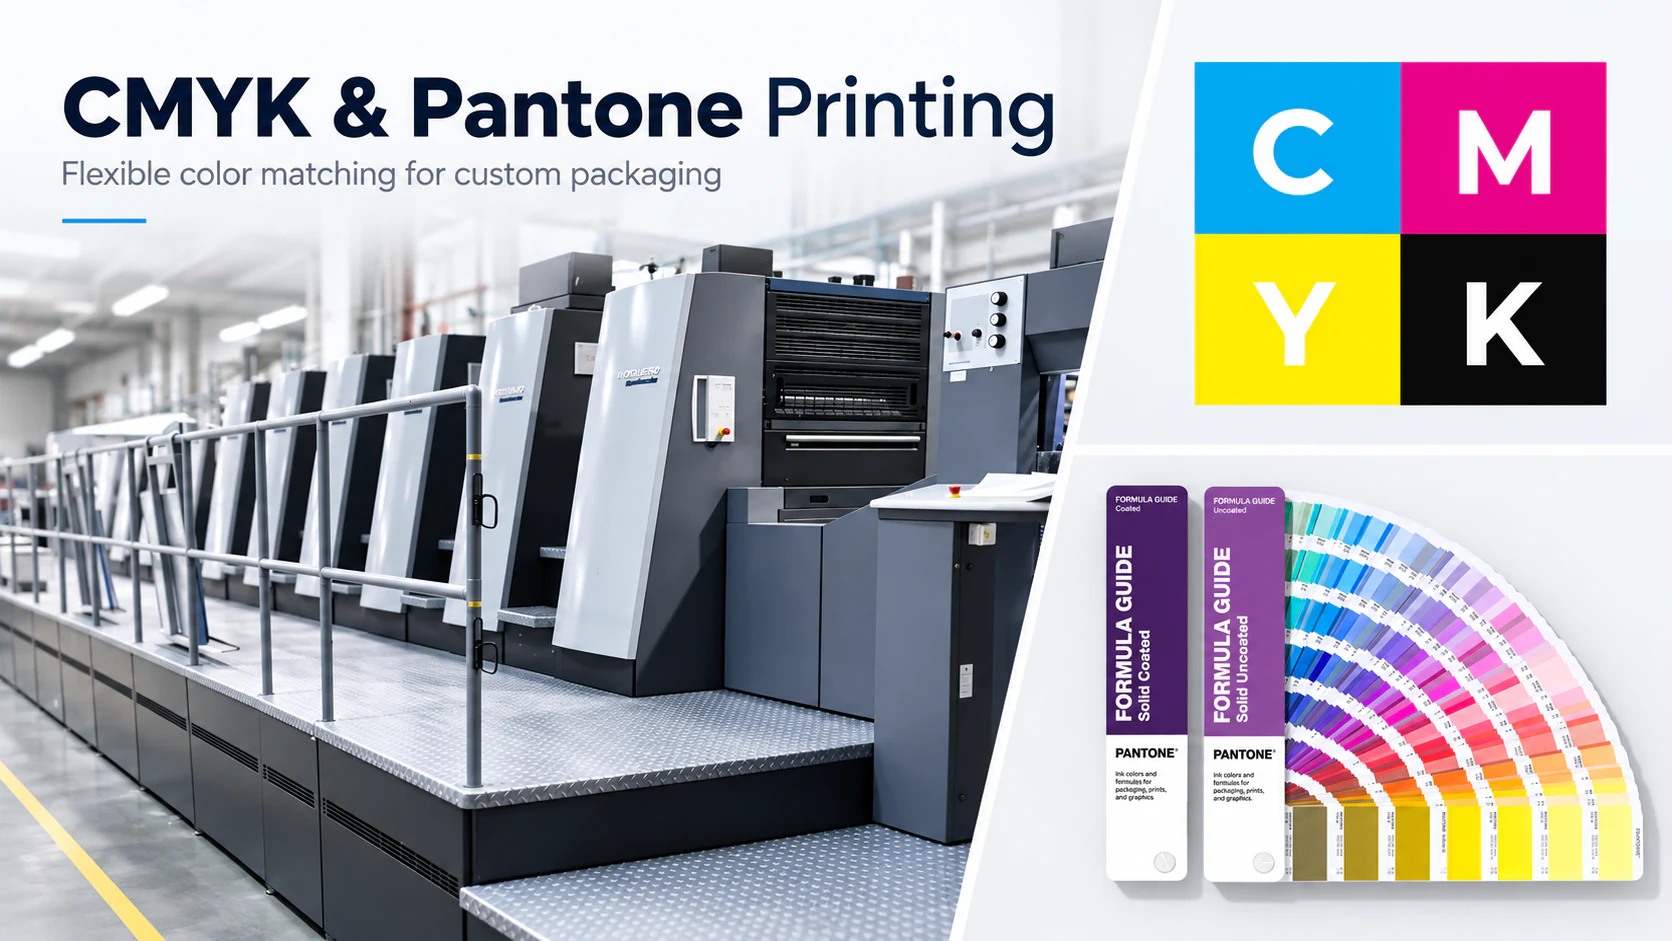
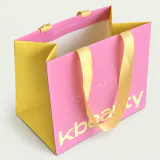
Image-led direction
A multi-colour route for images, gradients and more detailed artwork.
Confirm for the project
Confirm resolution, printable area, folds and colour expectations at the final bag size.
Focused colour direction
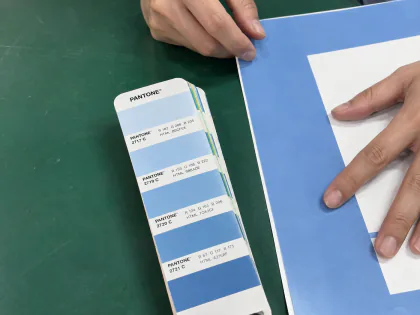
Chosen for brand colour matching or colours beyond CMYK. Spot inks can add cost, especially alongside CMYK printing.
Confirm for the project
Provide colour references and review how the selected paper and surface affect the final result.
Print, finishes & details
Start with standard printing, then compare selected finishes and a window detail. These are different design choices—not upgrades every bag needs.
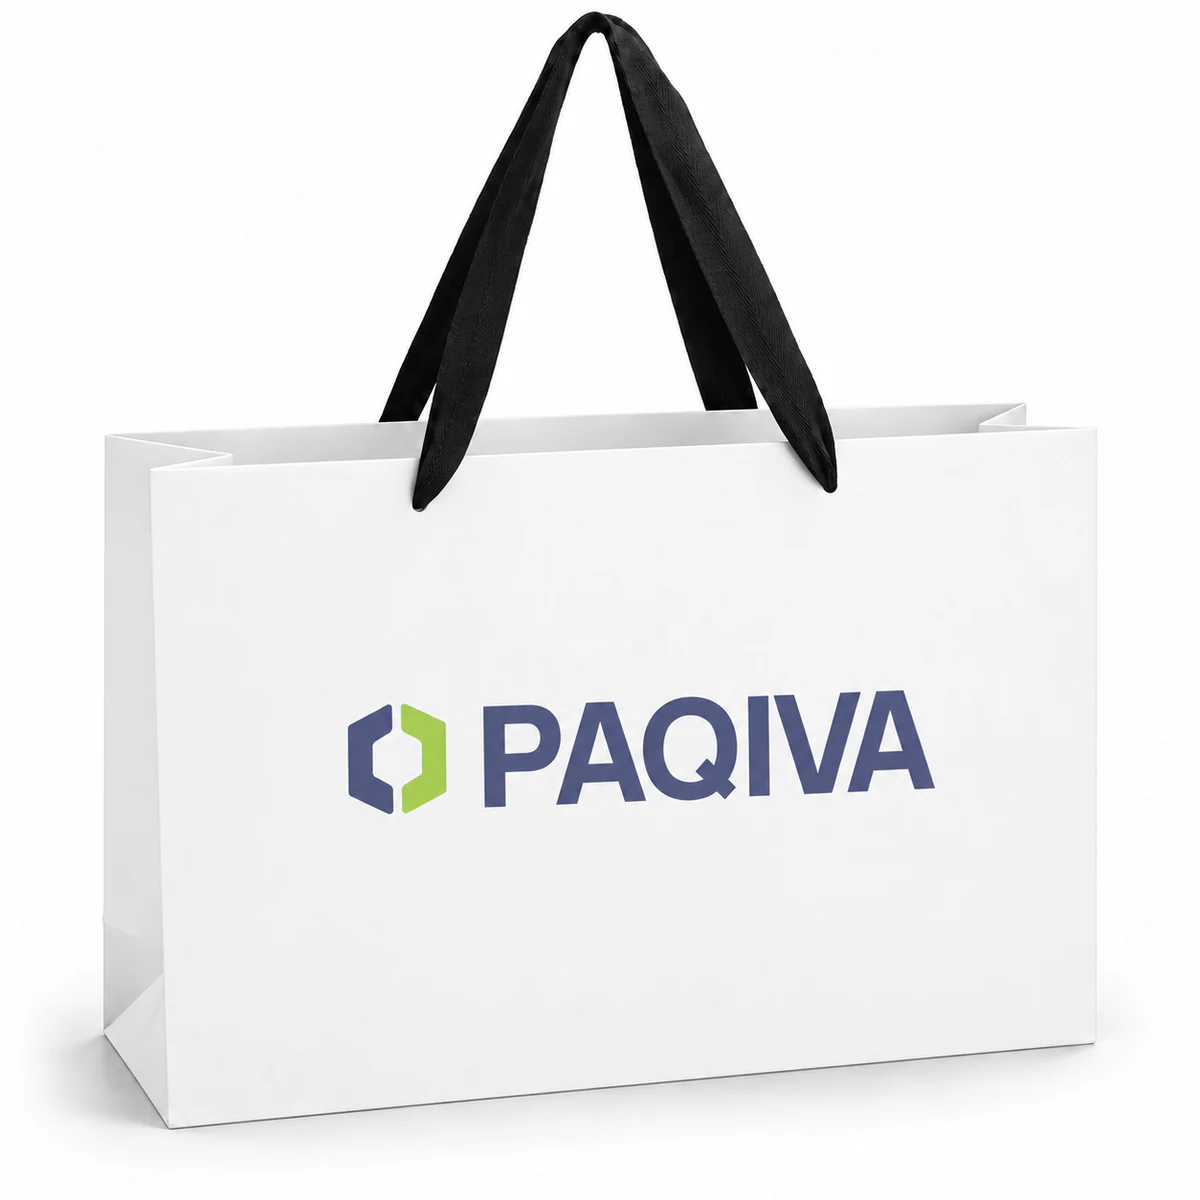
Everyday branding
Printed colour brings your logo and artwork onto the paper without adding a decorative foil or raised effect.
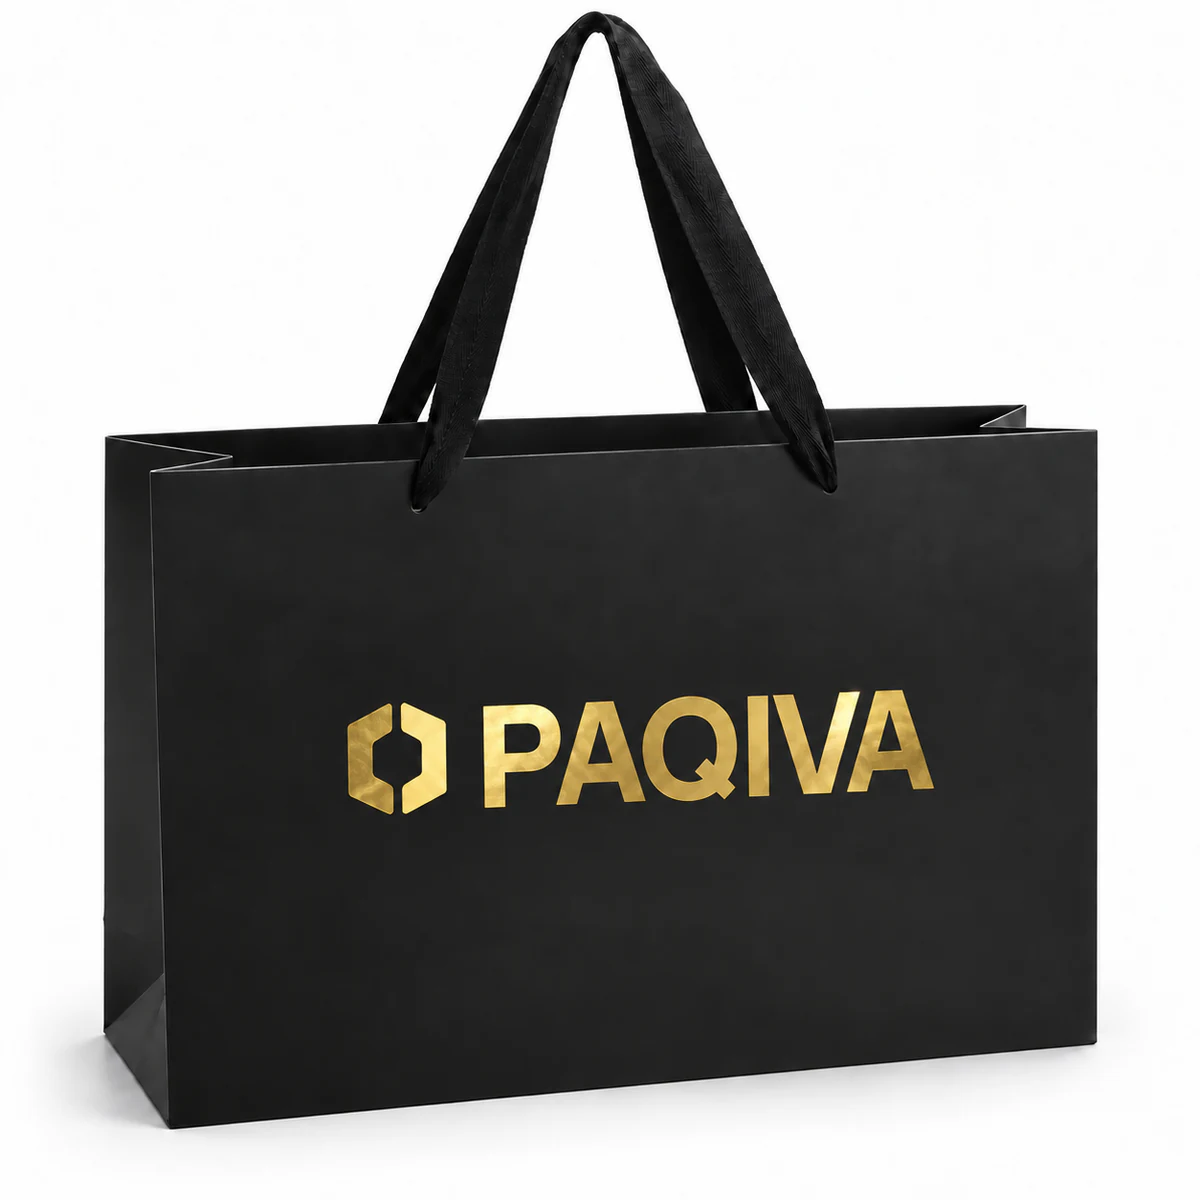
Project-specific finish
A metallic gold accent used to bring selected logos or details forward.
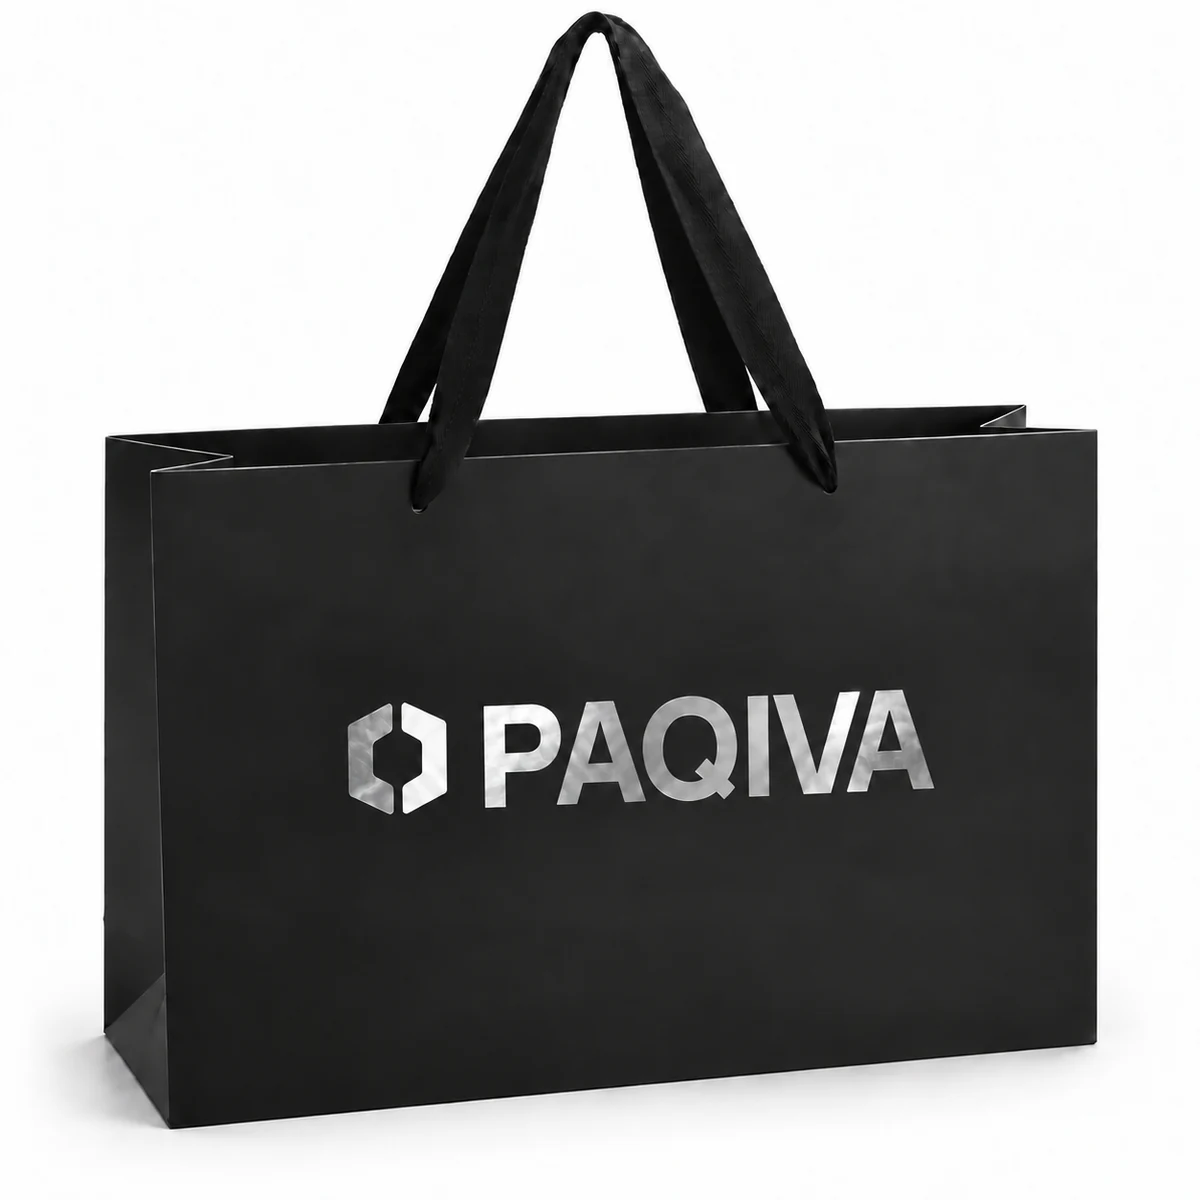
Project-specific finish
A metallic silver accent for selected clean or high-contrast graphic directions.
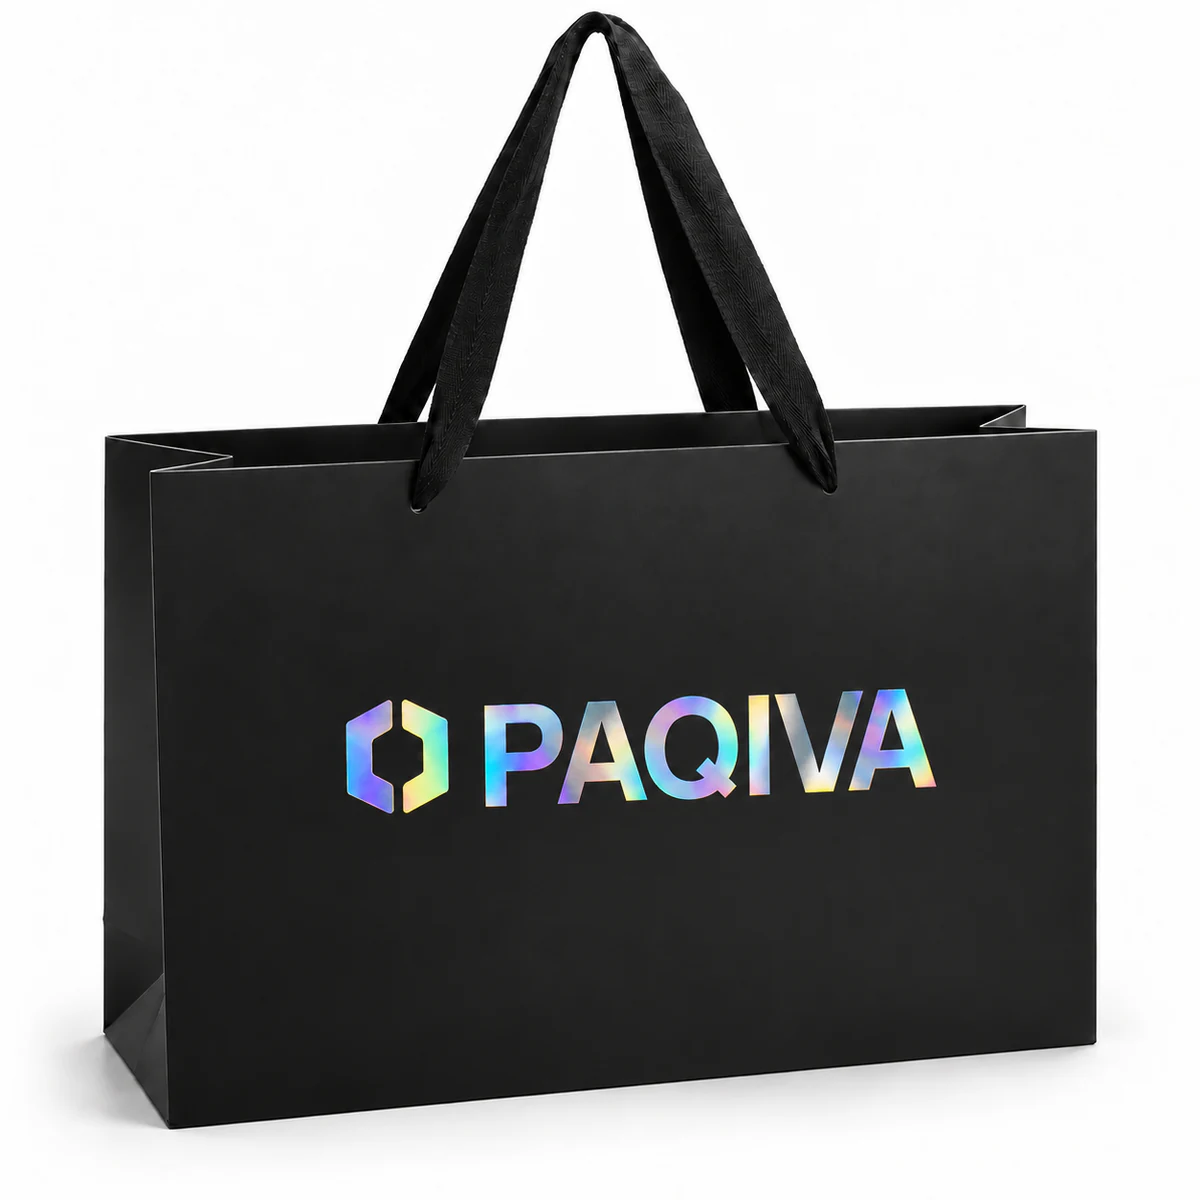
Rainbow-reflective accent
A localised rainbow-reflective foil highlights selected artwork, as shown on this black bag. This is not a holographic paper base.
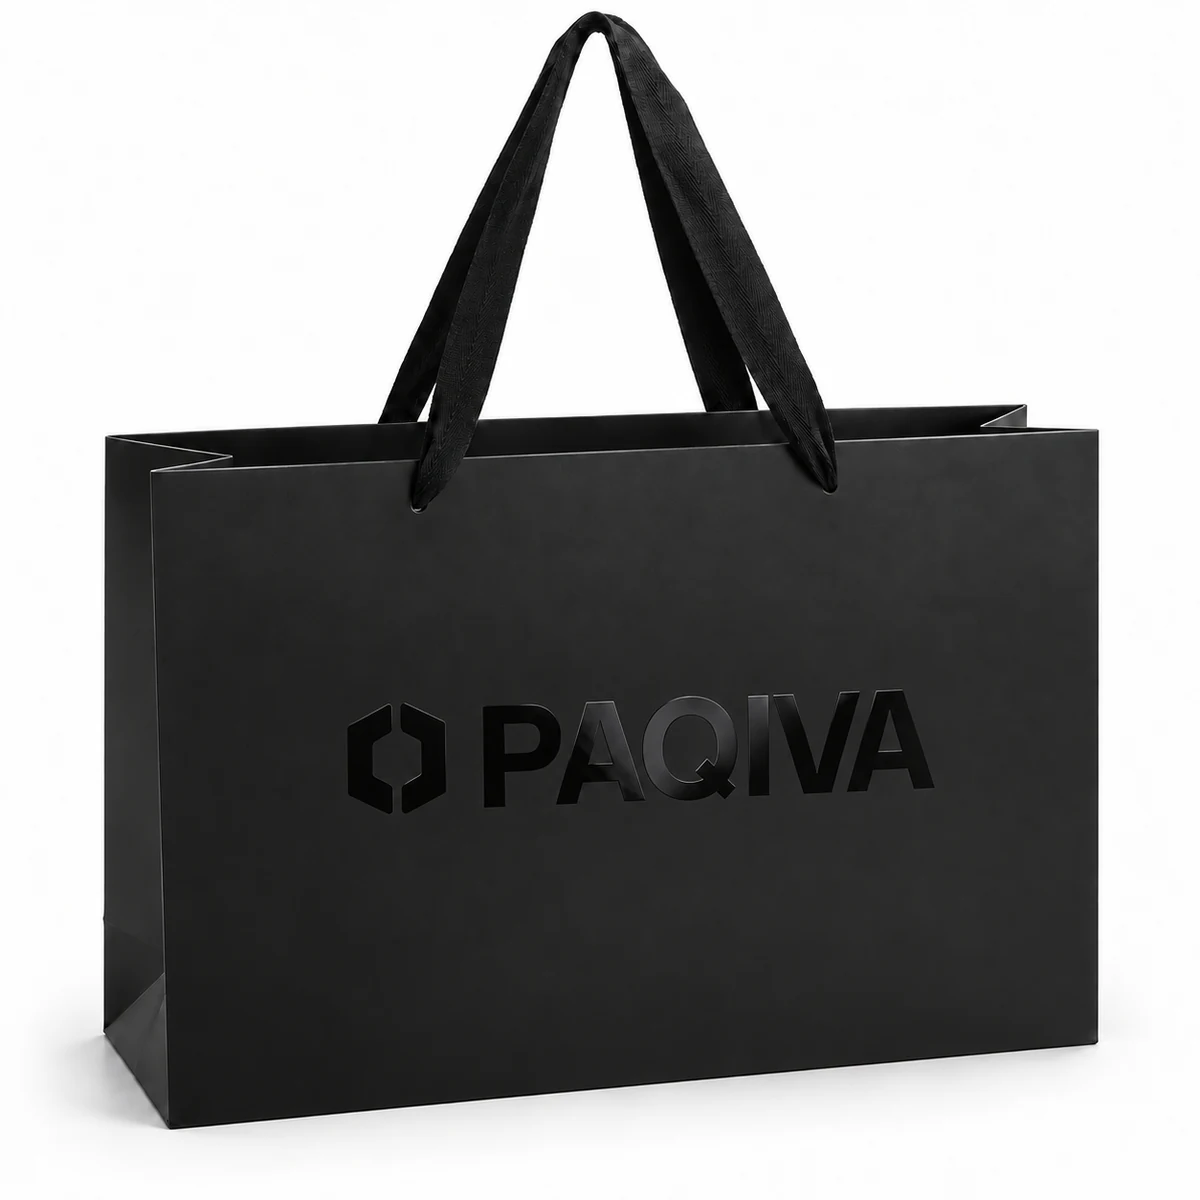
Gloss contrast
A localised gloss effect used to contrast with a matte or lower-gloss surrounding surface.
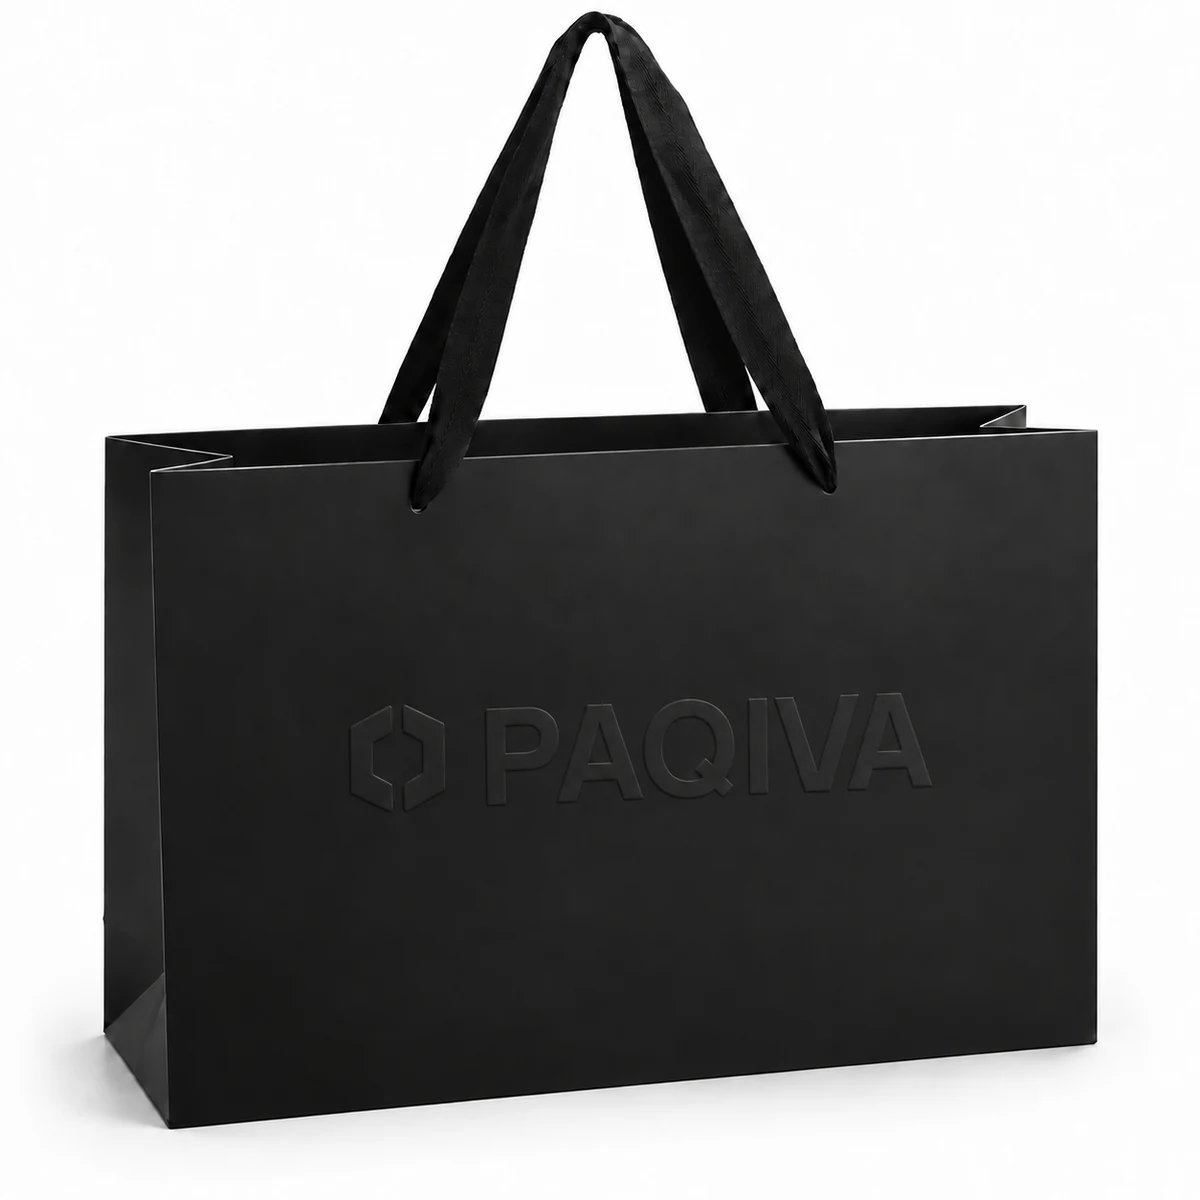
Tactile detail
The raised logo shown adds relief without a contrasting foil. A recessed debossed result is a separate direction to discuss.
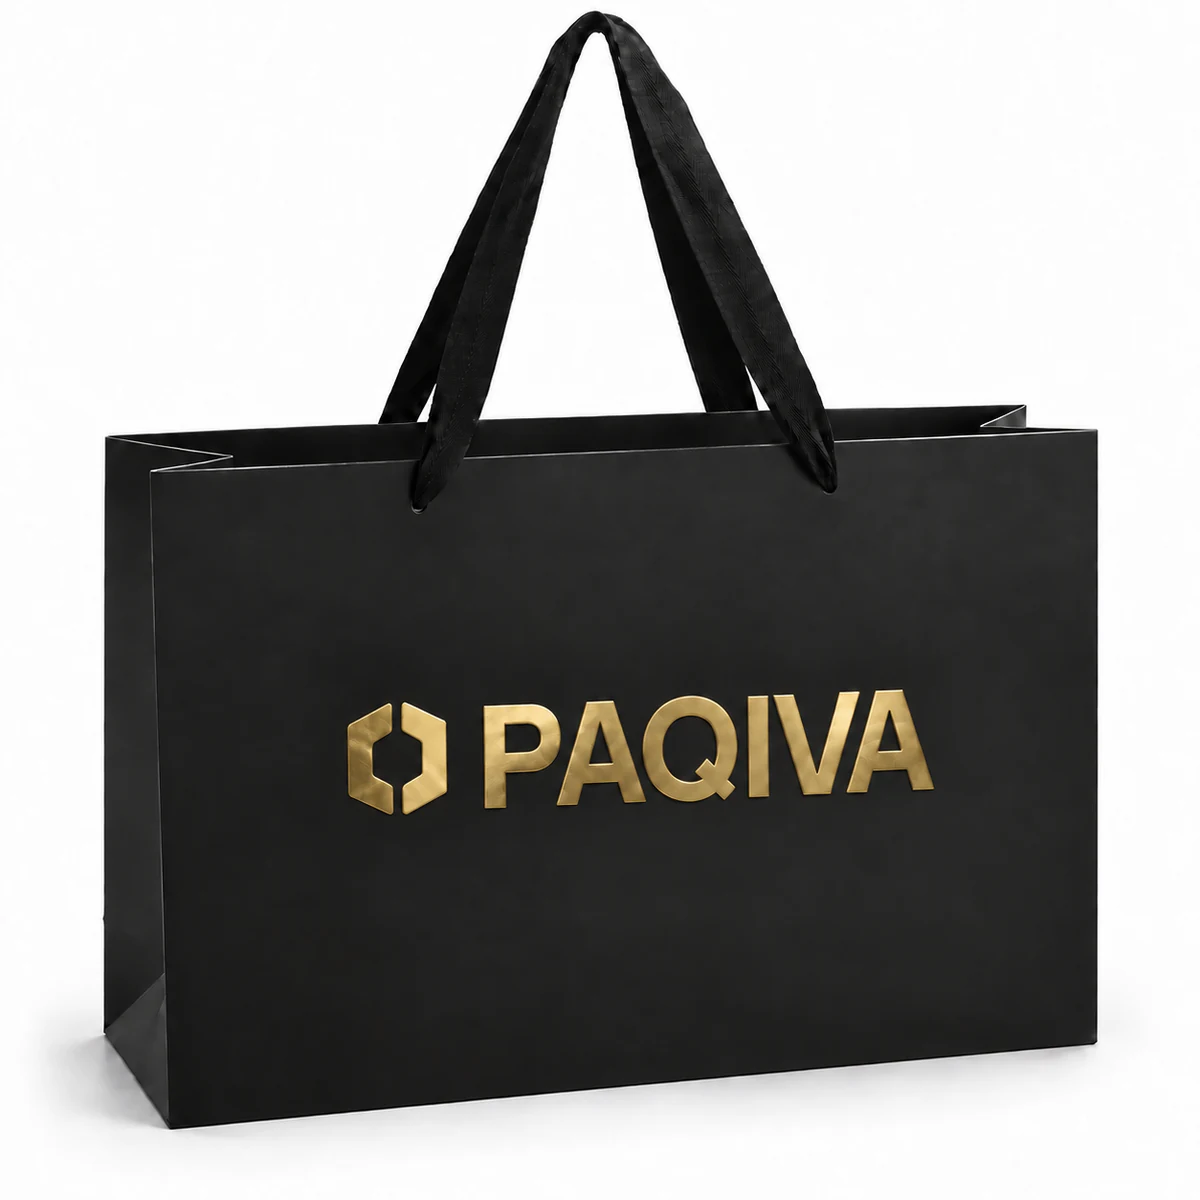
Combined finish
Metallic colour and relief are combined for a more pronounced selected detail.
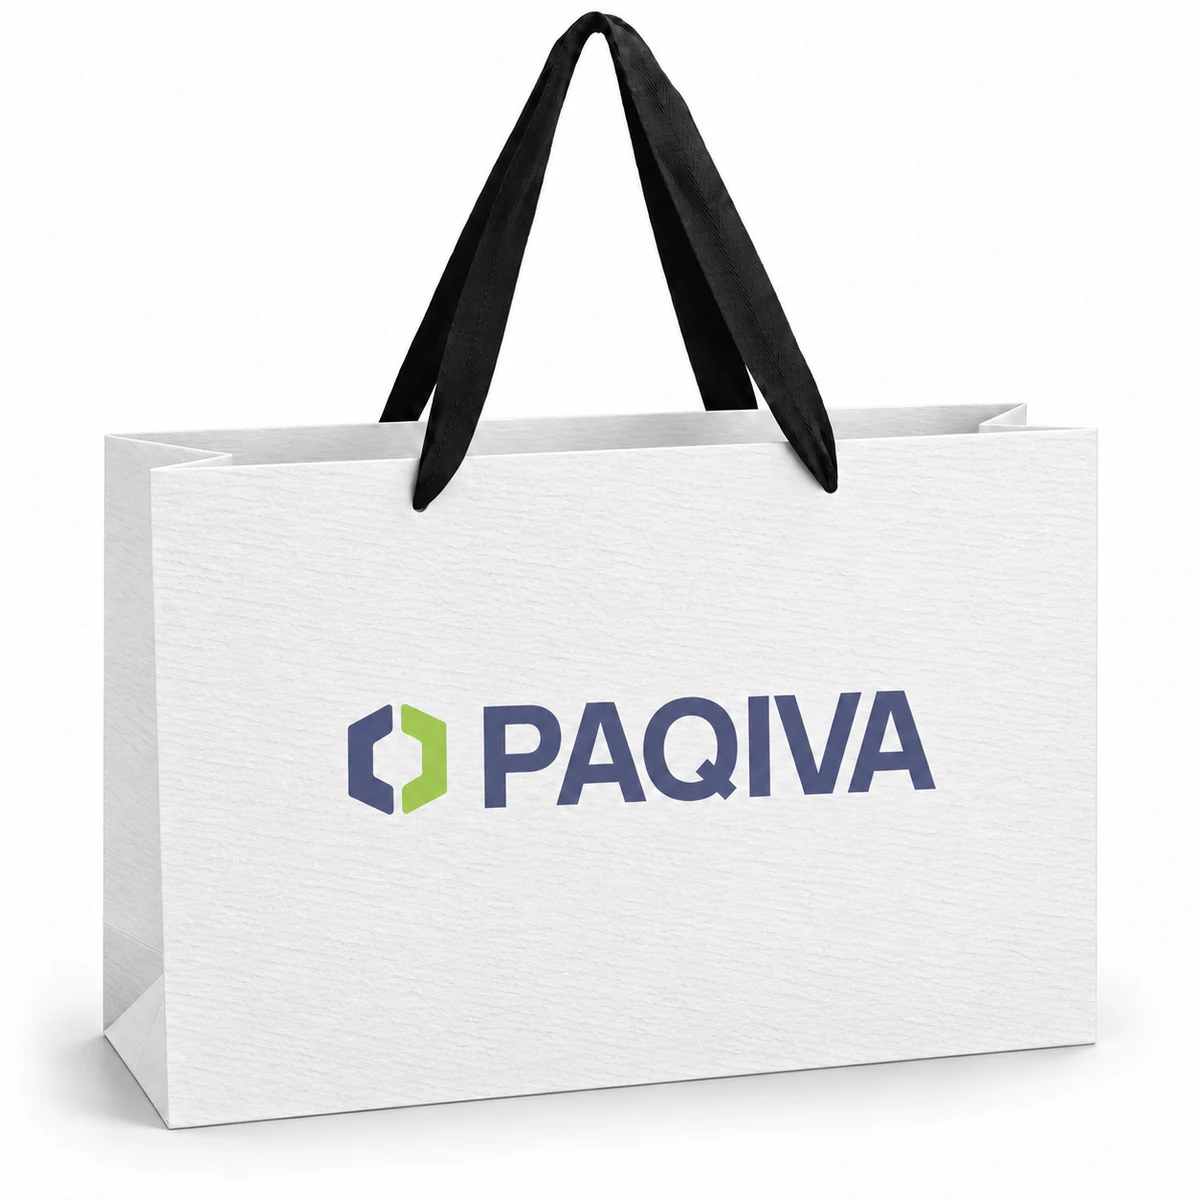
Surface texture
A repeating embossed pattern adds texture across the bag surface, rather than only raising the logo.
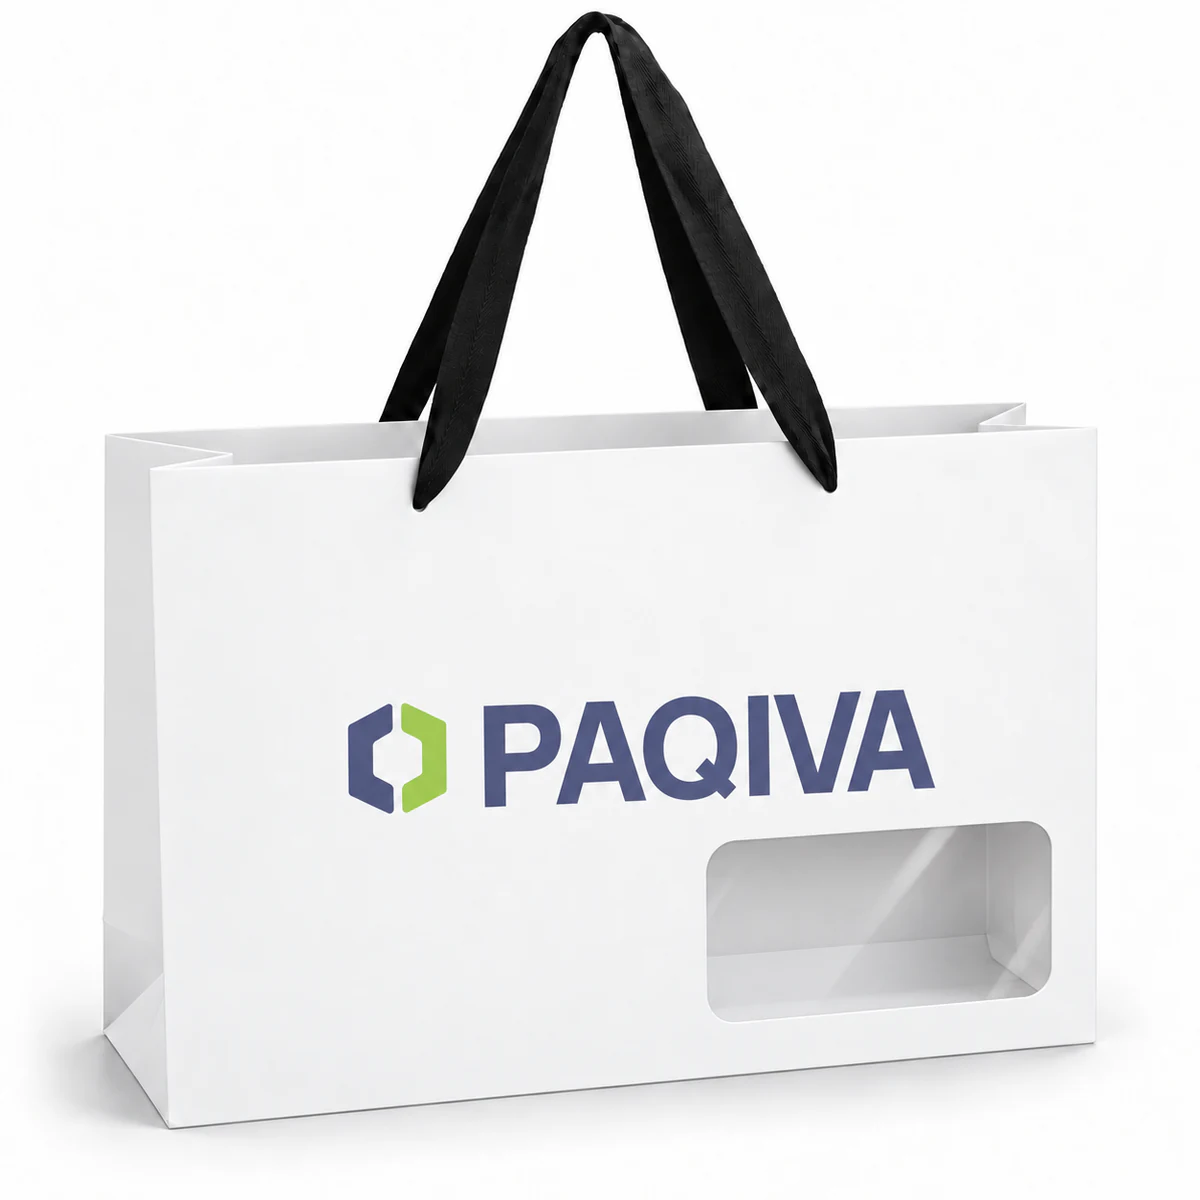
Structural detail
A cut-out with a transparent window lets customers see the contents while keeping the surrounding bag available for branding.
Practical order of use
Start with the paper’s own surface. If film lamination suits your project, compare matte, gloss and selective anti-scratch options below.
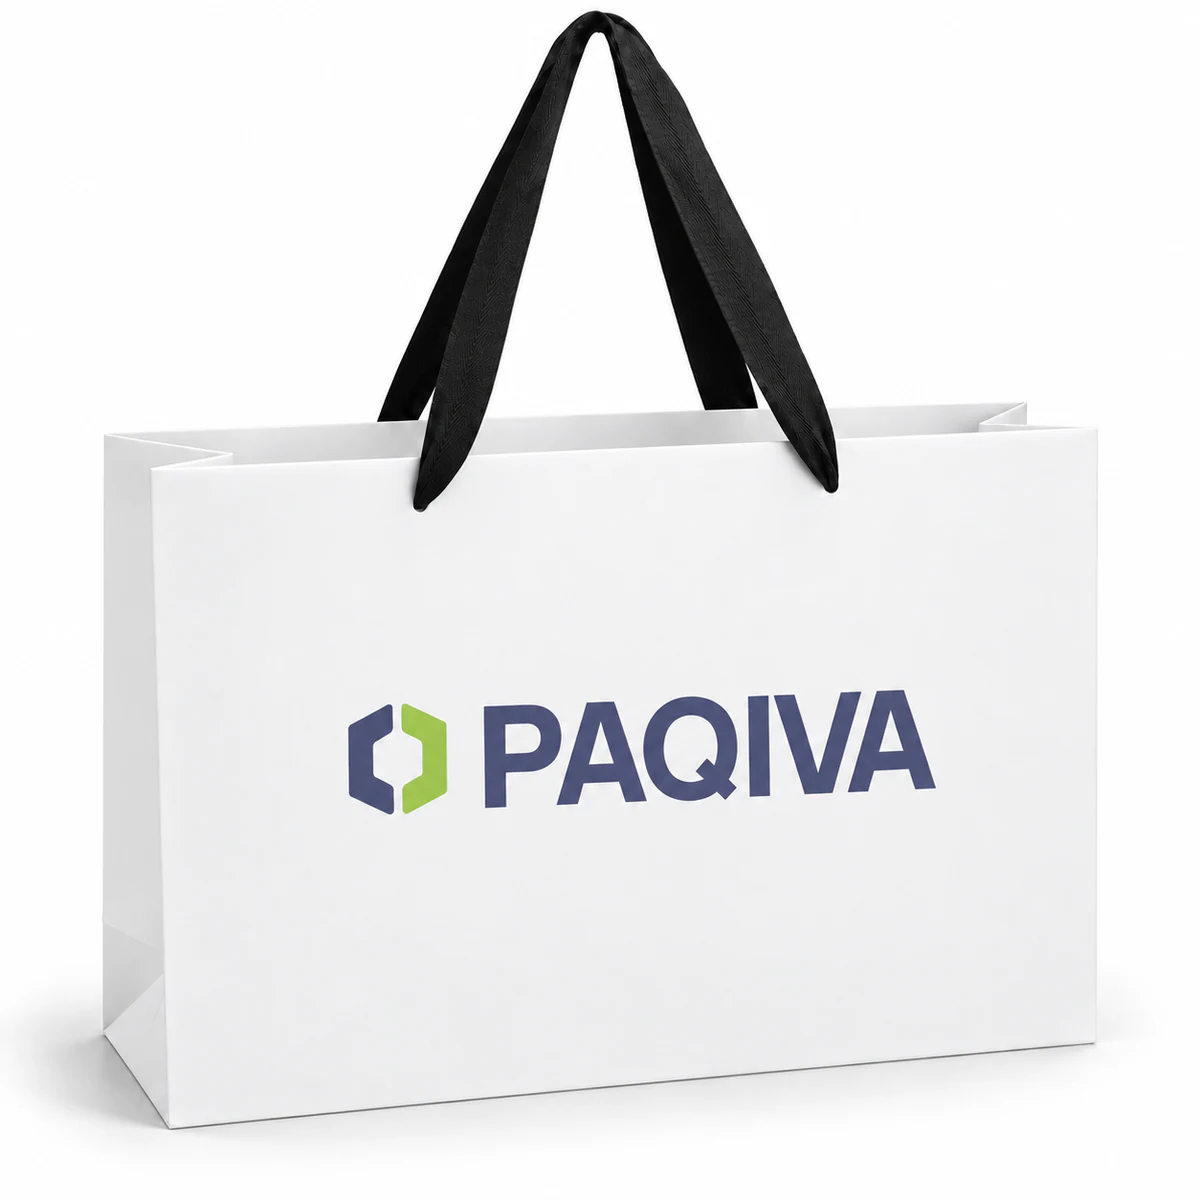
Most commonly specified
The usual starting point when a restrained surface and added protection are wanted.
Confirm for the project
Check how the reduced reflection works with the artwork and whether lamination is needed at all.
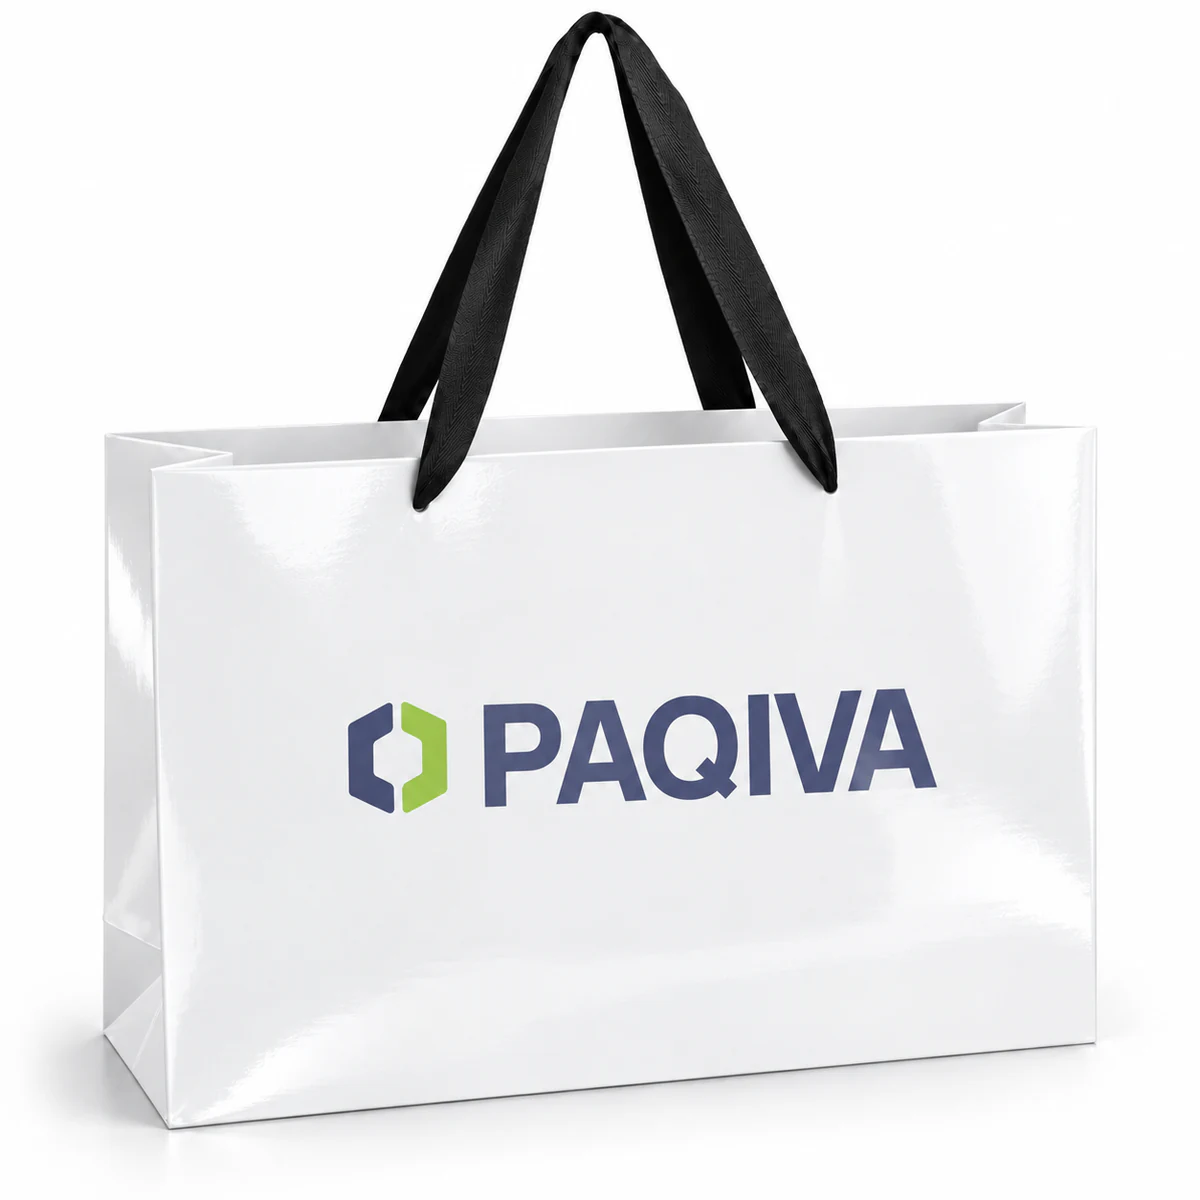
Next common option
Selected when stronger reflection and colour contrast suit the visual direction.
Confirm for the project
Reflections and visible handling marks should be considered on large dark areas.
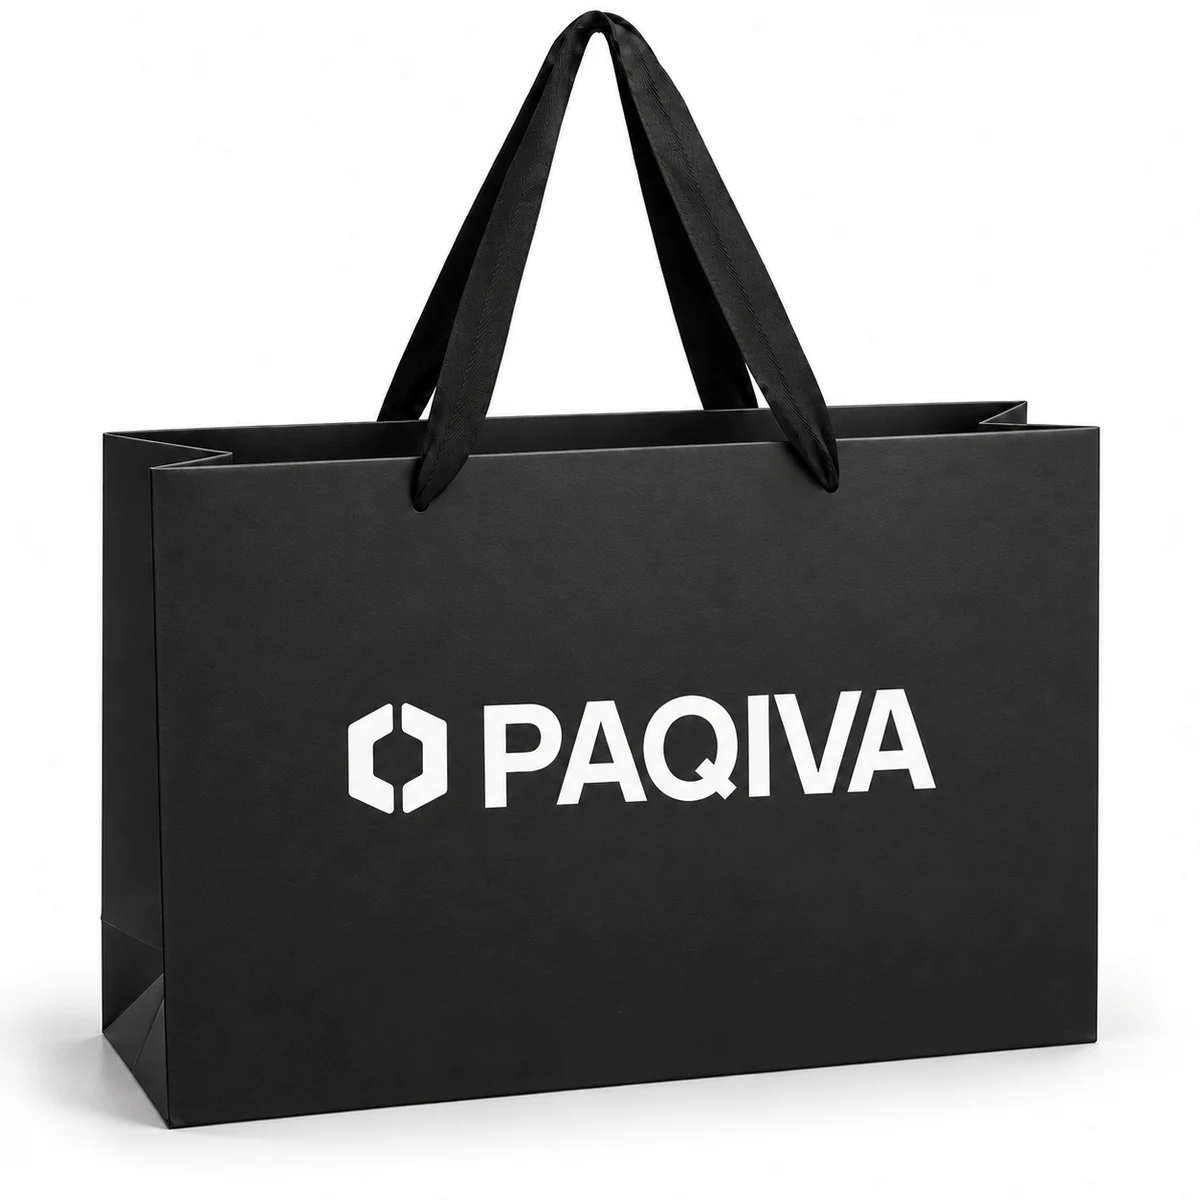
Selective dark-bag option
The matte direction shown is considered for dark bags where visible scuffing is a concern. Anti-scratch gloss is also available, but is rarely specified.
Confirm for the project
It adds cost and may reduce visible scuffs; it does not make the bag scratch-proof. Confirm the film and performance on a sample.
Sample-led confirmation
Printing, lamination and special finishes are confirmed against the selected paper, artwork, bag construction and quantity. Not every option or process can be combined with every specification.
Continue planning
Made to order
PAQIVA
Paper bag project support
CUSTOM PAPER BAGS
Hi! Share what you have in mind — we’ll help you plan the next step.
Tell us what the bags will carry, your approximate quantity and delivery destination.
Chat on WhatsAppOpens WhatsApp. You can review your message before sending.