















How Kraft Paper Bags Are Made: A Four-Step Production Guide
From paper reels to packed cartons: four stages of bulk kraft bag production, what to check at each stage, and why rope and ribbon handles need a different plan.

For many bulk orders of kraft paper bags with glued-on twisted handles, production follows four main stages: prepare the paper, print it, attach the handles and form the bags, then inspect and pack them. This is a useful way to understand the order from raw material to finished cartons.
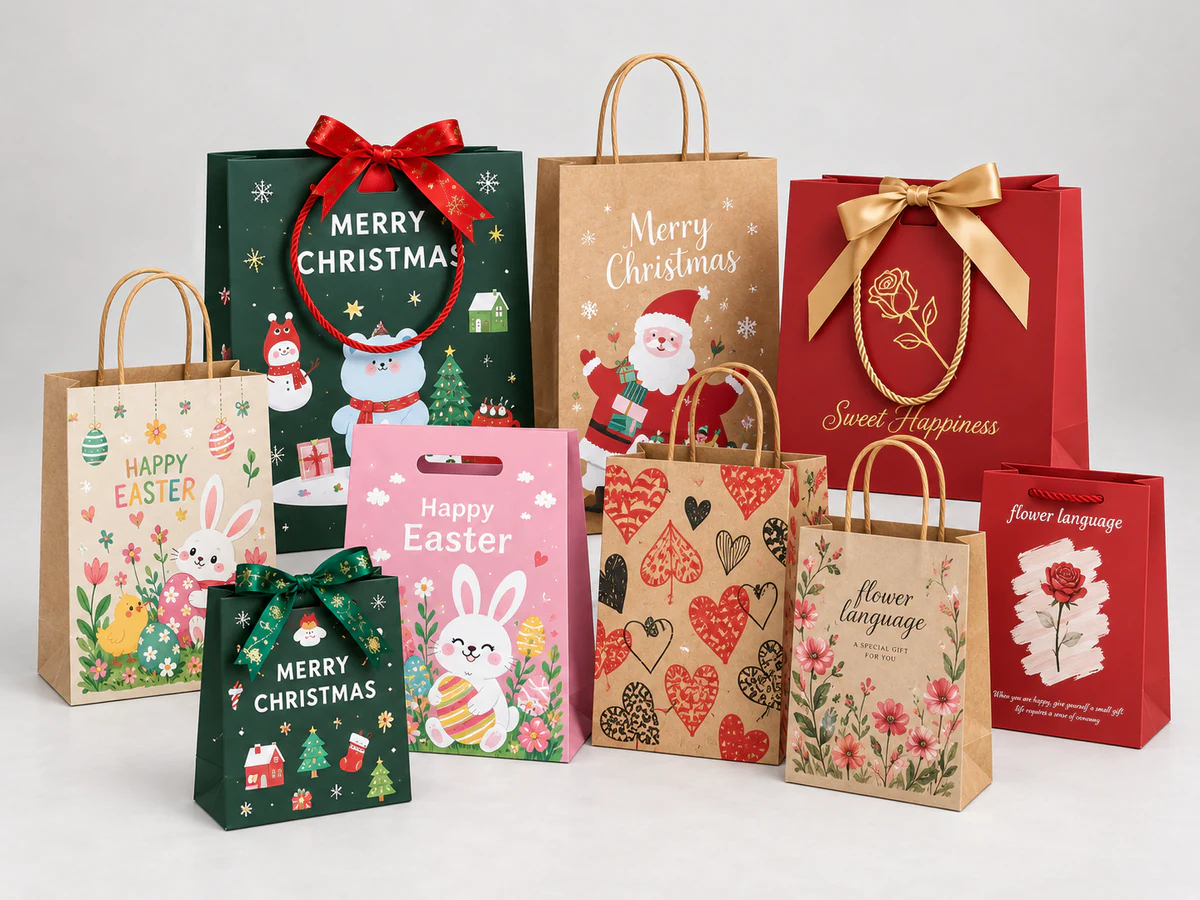
The exact machines and sequence depend on the bag construction. A twisted-handle shopping bag and a bag with threaded rope or ribbon handles can look similar at checkout, but take different routes through production.
The images are AI-assisted process illustrations, including scenes adapted from supplied production references.
1. Prepare the kraft paper
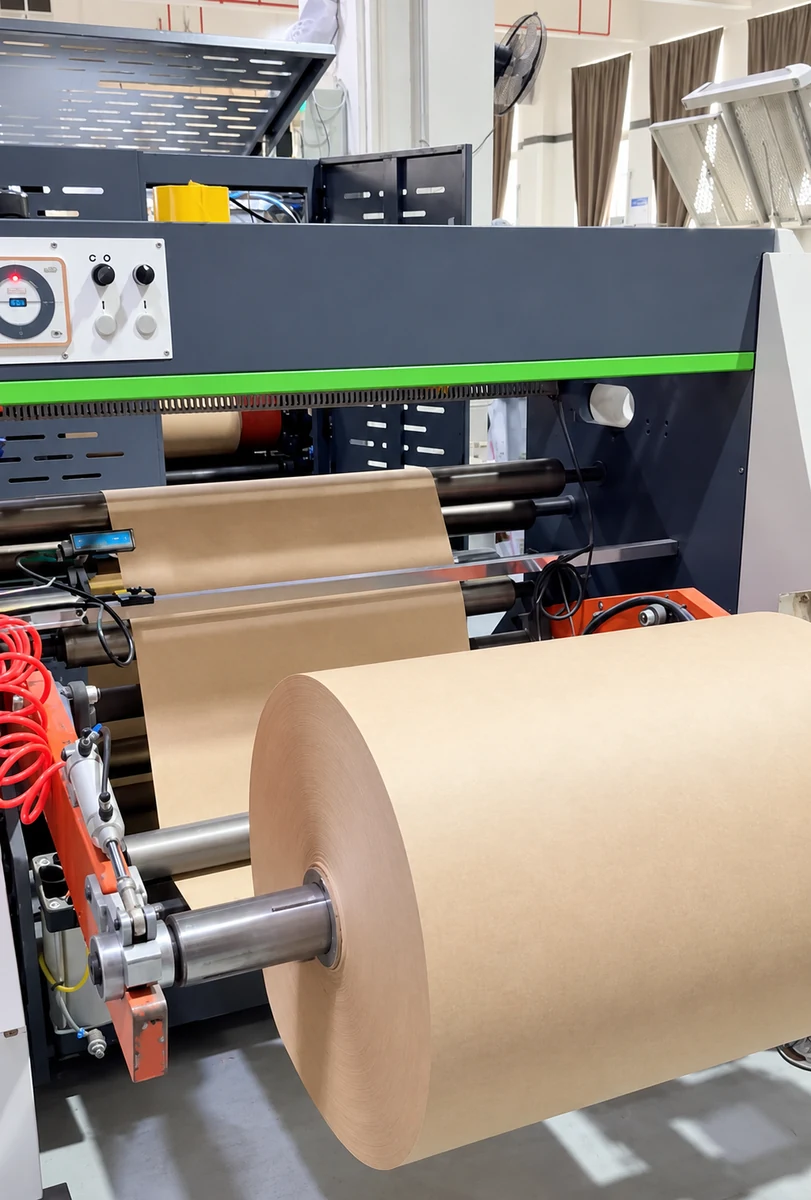
Production starts with the paper specification agreed for the order. For a roll-fed line, the paper arrives in large reels, ready to be unwound and fed into the equipment.
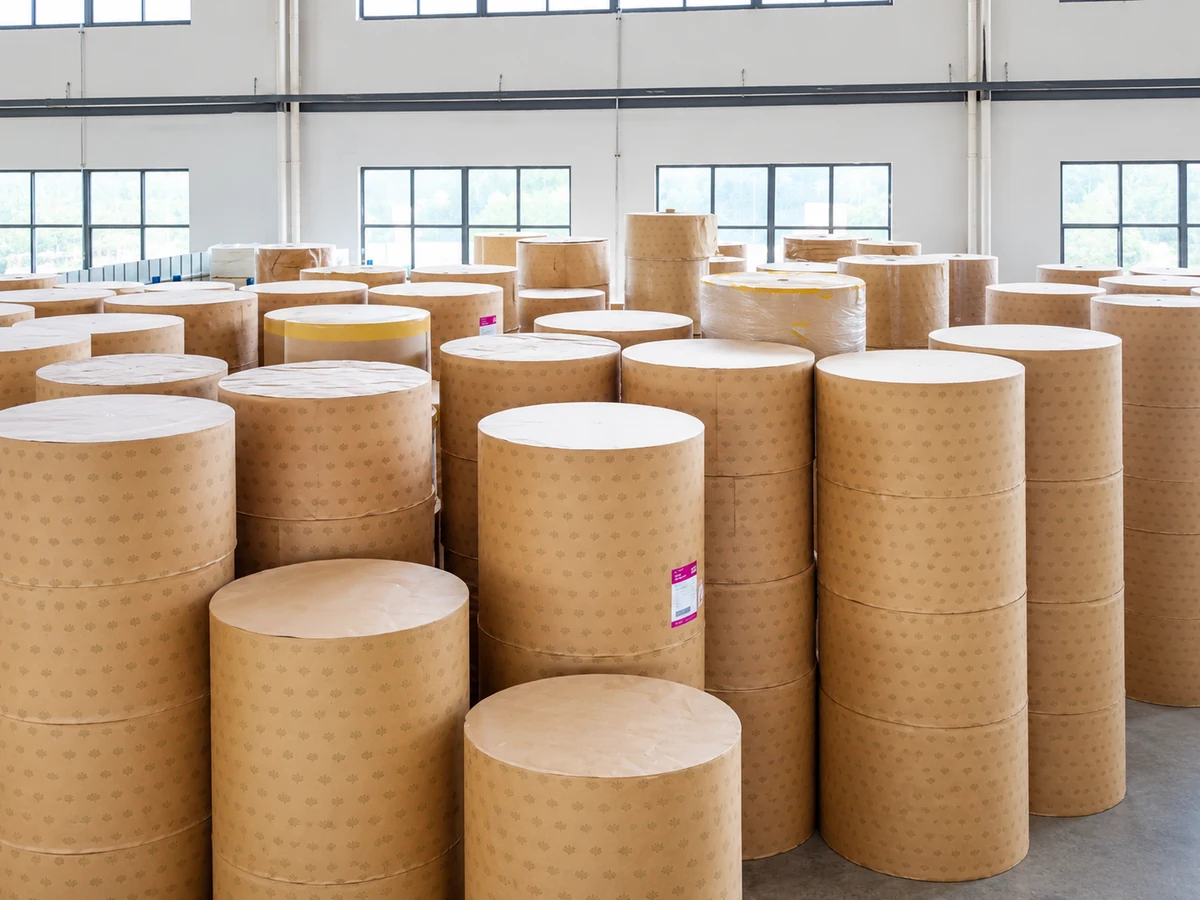
The paper choice needs to suit the bag's size, intended contents and printed design. Paper weight is one part of that choice; the handles, glued joints and finished structure also affect how the bag performs.
Before the run, the material should match the approved specification. The roll width must suit the bag dimensions and machine setup, and the paper should be checked for damage or moisture problems that could affect processing.
For the buyer: settle the finished size and paper choice before printing starts. Changing the bag dimensions later can affect both material preparation and artwork placement.
2. Print the design
For a printed bag, the artwork is applied before the paper is turned into the finished bag in this production route. Plain, unprinted bags skip this operation.
Printing may happen on a separate press, with the printed roll moved to the bag-making line, or on a connected printing unit. For example, HolwegWeber's 5XF production line offers inline flexographic printing alongside bag-making equipment.
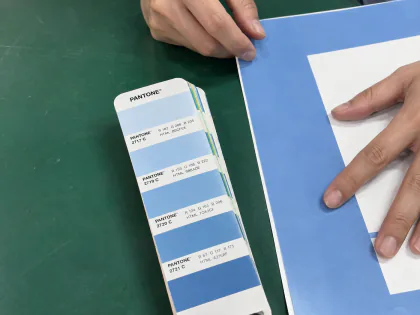
At this stage, attention goes to the colour, logo position and consistency of the repeat. The layout needs to work on the finished front, back and side panels—not just look right on a flat artwork file. Creases and glued areas should be considered when placing important details.
For the buyer: approve the artwork with the bag's folds and panels marked. A logo that sits comfortably on the flat design may end up too close to a fold when the bag is formed.
3. Attach the handles and form the bag
This stage brings several operations together: preparing the handle units, gluing them in place, folding the paper into the bag body, joining the side seam and forming the bottom.

In a typical glued-on twisted-handle construction, the handle ends are secured with paper patches inside the bag. NEWLONG's handle-making and attachment equipment describes making these handle-and-patch assemblies and bonding them to the bag material.
The exact order varies. Some integrated lines attach the handles during bag making; other equipment adds handles to an already formed bag. That is why it is more useful to think of this as a combined assembly stage than one fixed sequence of separate machines.
The finished result should have evenly positioned handles, consistent folds and secure glued areas. The side gussets and bottom allow the bag to open into its intended shape, while the handle attachment gives the customer a way to carry it.
For the buyer: look beyond the printed front. Open a finished sample and inspect the handle patches, side seam and bottom folds—the parts doing much of the work are inside or underneath.
4. Check the finished bags and pack them
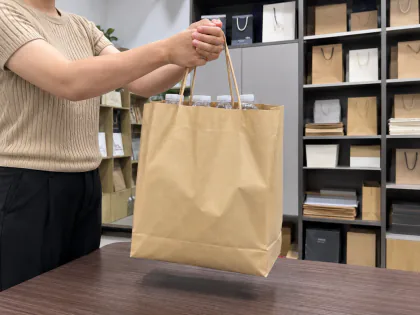
Quality checks belong throughout production, with a final finished-bag check before packing. A good-looking stack alone does not tell you whether the bags open properly or the handles are securely attached.

The finished-bag check should cover:
- Appearance: print position, colour consistency, smudging and unwanted marks.
- Construction: dimensions, folds, side seams, bottom joints and handle attachment.
- Use: opening the bag, placing the intended contents inside and checking the agreed carrying requirement.
- Packing: correct quantities, separated sizes or designs, and cartons that protect the bags and handles.
After inspection, bags are counted and arranged in bundles for packing. Carton identification should make the contents easy to recognise, especially when one order includes several sizes or printed designs. Neat packing helps prevent avoidable creasing and crushed handles during handling.
The PAQIVA quality-control overview explains the checks to discuss for a specific order. Inspection scope and carrying requirements should follow that order's specification; the photograph is an illustration of the checking stage.
Rope and ribbon handles need a different production plan
This four-stage overview is most useful for the glued-on twisted-handle kraft bags shown here. Other handle constructions can change the equipment, assembly work and order of operations.
A threaded rope handle needs holes and a suitable fixing inside the bag, such as knots or retaining ends. A threaded ribbon handle likewise needs the correct openings and attachment method. A glued-in ribbon handle uses a different attachment arrangement from a twisted-handle-and-paper-patch unit. These options should not automatically be treated as the same machine-made product with a different cord colour.
The practical point is simple: choose the handle style when planning the bag, not after approving the rest of the construction. Explore the handle and attachment options together with the bag size, appearance and intended use.
For a production enquiry, send PAQIVA the finished dimensions, intended contents, paper preference, print artwork, handle style and quantity. Those details help define the right construction and production route. Discuss your kraft paper bag order.